A blog website is a typical platform where individuals or organizations can publish regular articles, known as blog posts, on various topics. When it comes to building a blog website, the process can take weeks or even months. You'll need to create a CMS or dashboard, a preview page, ensure the post pages are SEO-friendly, and handle many other tasks.
Next JS + Blogstraps: A Powerful Combination to Build a Blog Website
NextJS is a popular open-source web development framework built on top of React and maintained by Vercel. It is well-suited for blog websites because it offers features like static page generation and server-side rendering, which enhance your site's SEO performance.
Blogstraps is a tool that helps you embed and integrate blogs into your website seamlessly. It provides a built-in CMS and requires only a few lines of code to integrate.
In this article, we'll discuss how to build a blog website using NextJS from scratch, starting with the basics and moving on to more advanced features that allow you to create a powerful SEO-friendly site.
If you already have an existing website built with HTML/CSS and want to add a blog feature, you may find this article helpful: https://blogstraps.com/blog/post/how-to-add-a-blog-to-an-existing-htmlcss-website.
Before we proceed, if you prefer reading code, you might want to check out this example: https://github.com/herryg91/blogstraps-example/tree/main/nextjs.
Let's go step by step to build a blog website using NextJS:
Step 1: Fork the Blogstraps Example Boilerplate
You can set up a NextJS project and build layouts from scratch, but Blogstraps offers a free NextJS boilerplate for building blog websites, which you can find at https://github.com/herryg91/blogstraps-example.
Using this boilerplate is faster, so we'll follow that way.
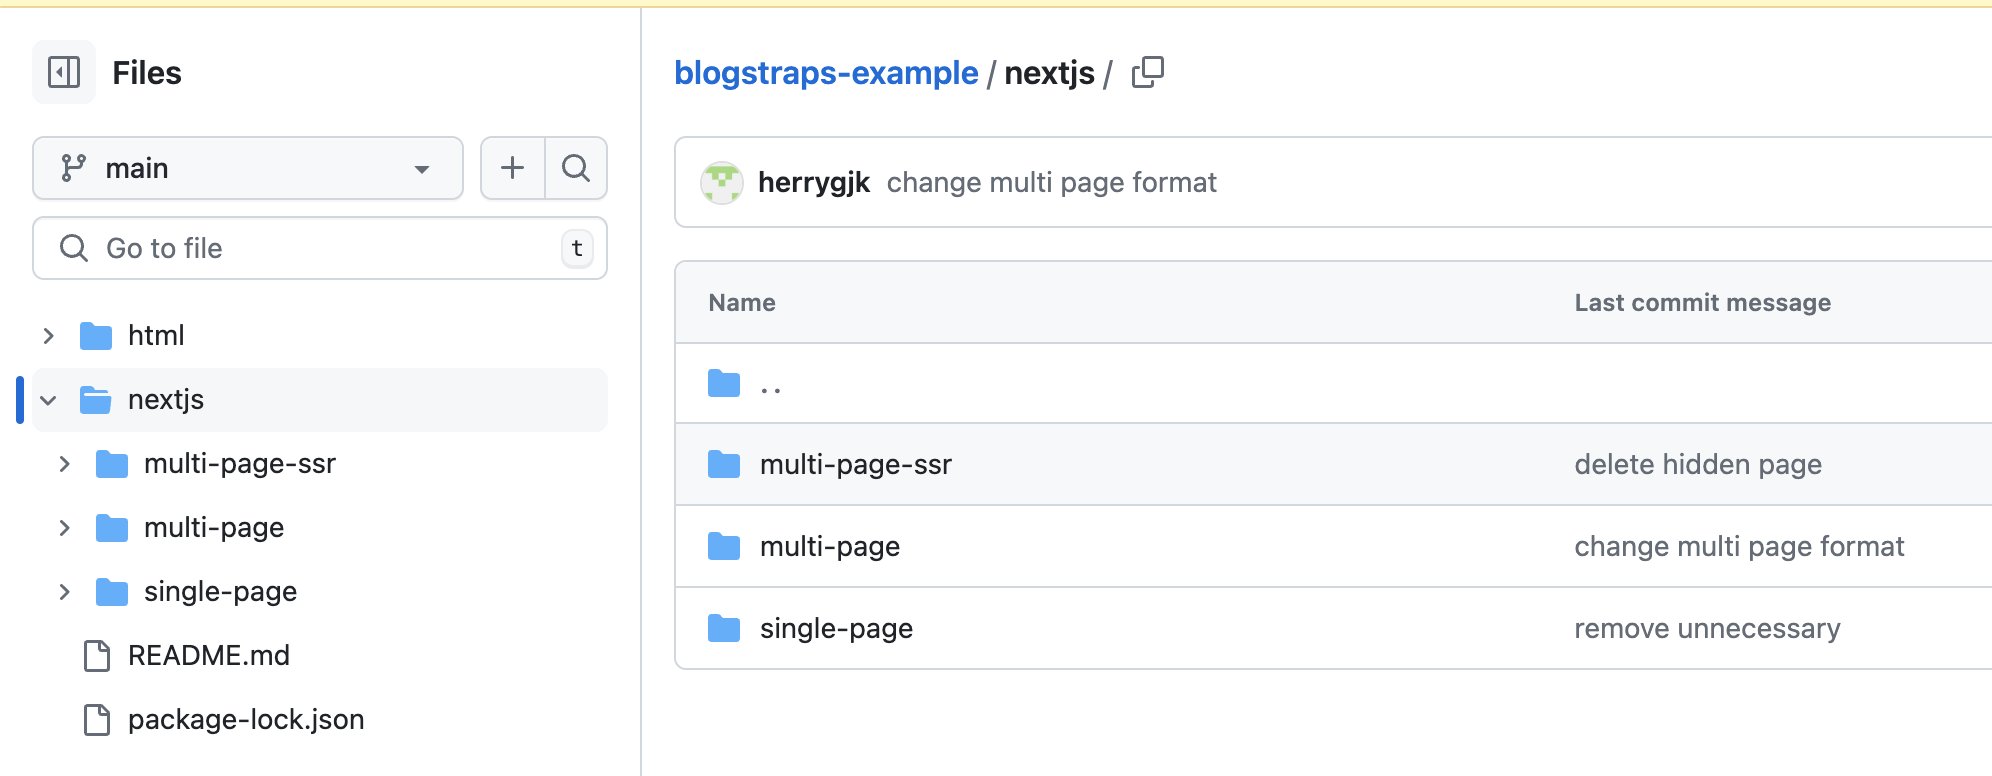
First, fork the repository to make it easier to customize the project to your needs, such as changing the logo, favicon, titles, etc. In the NextJS folder, you'll find three modes you can use:
- Single Page
- Multi Page with Embed (minimum Standard Plan)
- Multi Page with SSR (minimum Standard Plan)
To understand the difference between single-page and multi-page modes, you can read this article: https://blogstraps.com/blog.
If you are using the Free Plan, you can go with the single-page mode.
But if you are subscribed to our Paid Plan, I suggest using Multi Page with SSR, as it's the best for building an SEO-friendly website.
Step 2: Get Blogstraps' Embed Key or API Key
Depending on the mode you want to build, you'll need Blogstraps' Embed Key or API Key, which needs to be added to the .env file.
- For Single Page, you'll need to fill the Embed Key into
NEXT_PUBLIC_BLOGSTRAPS_EMBED_KEYin the .env file. - For Multi Page, you'll also need to fill the Embed Key into
NEXT_PUBLIC_BLOGSTRAPS_EMBED_KEYin the .env file. - For Multi Page with SSR, you'll need to fill the API Key into
NEXT_PUBLIC_API_KEYin the .env file.
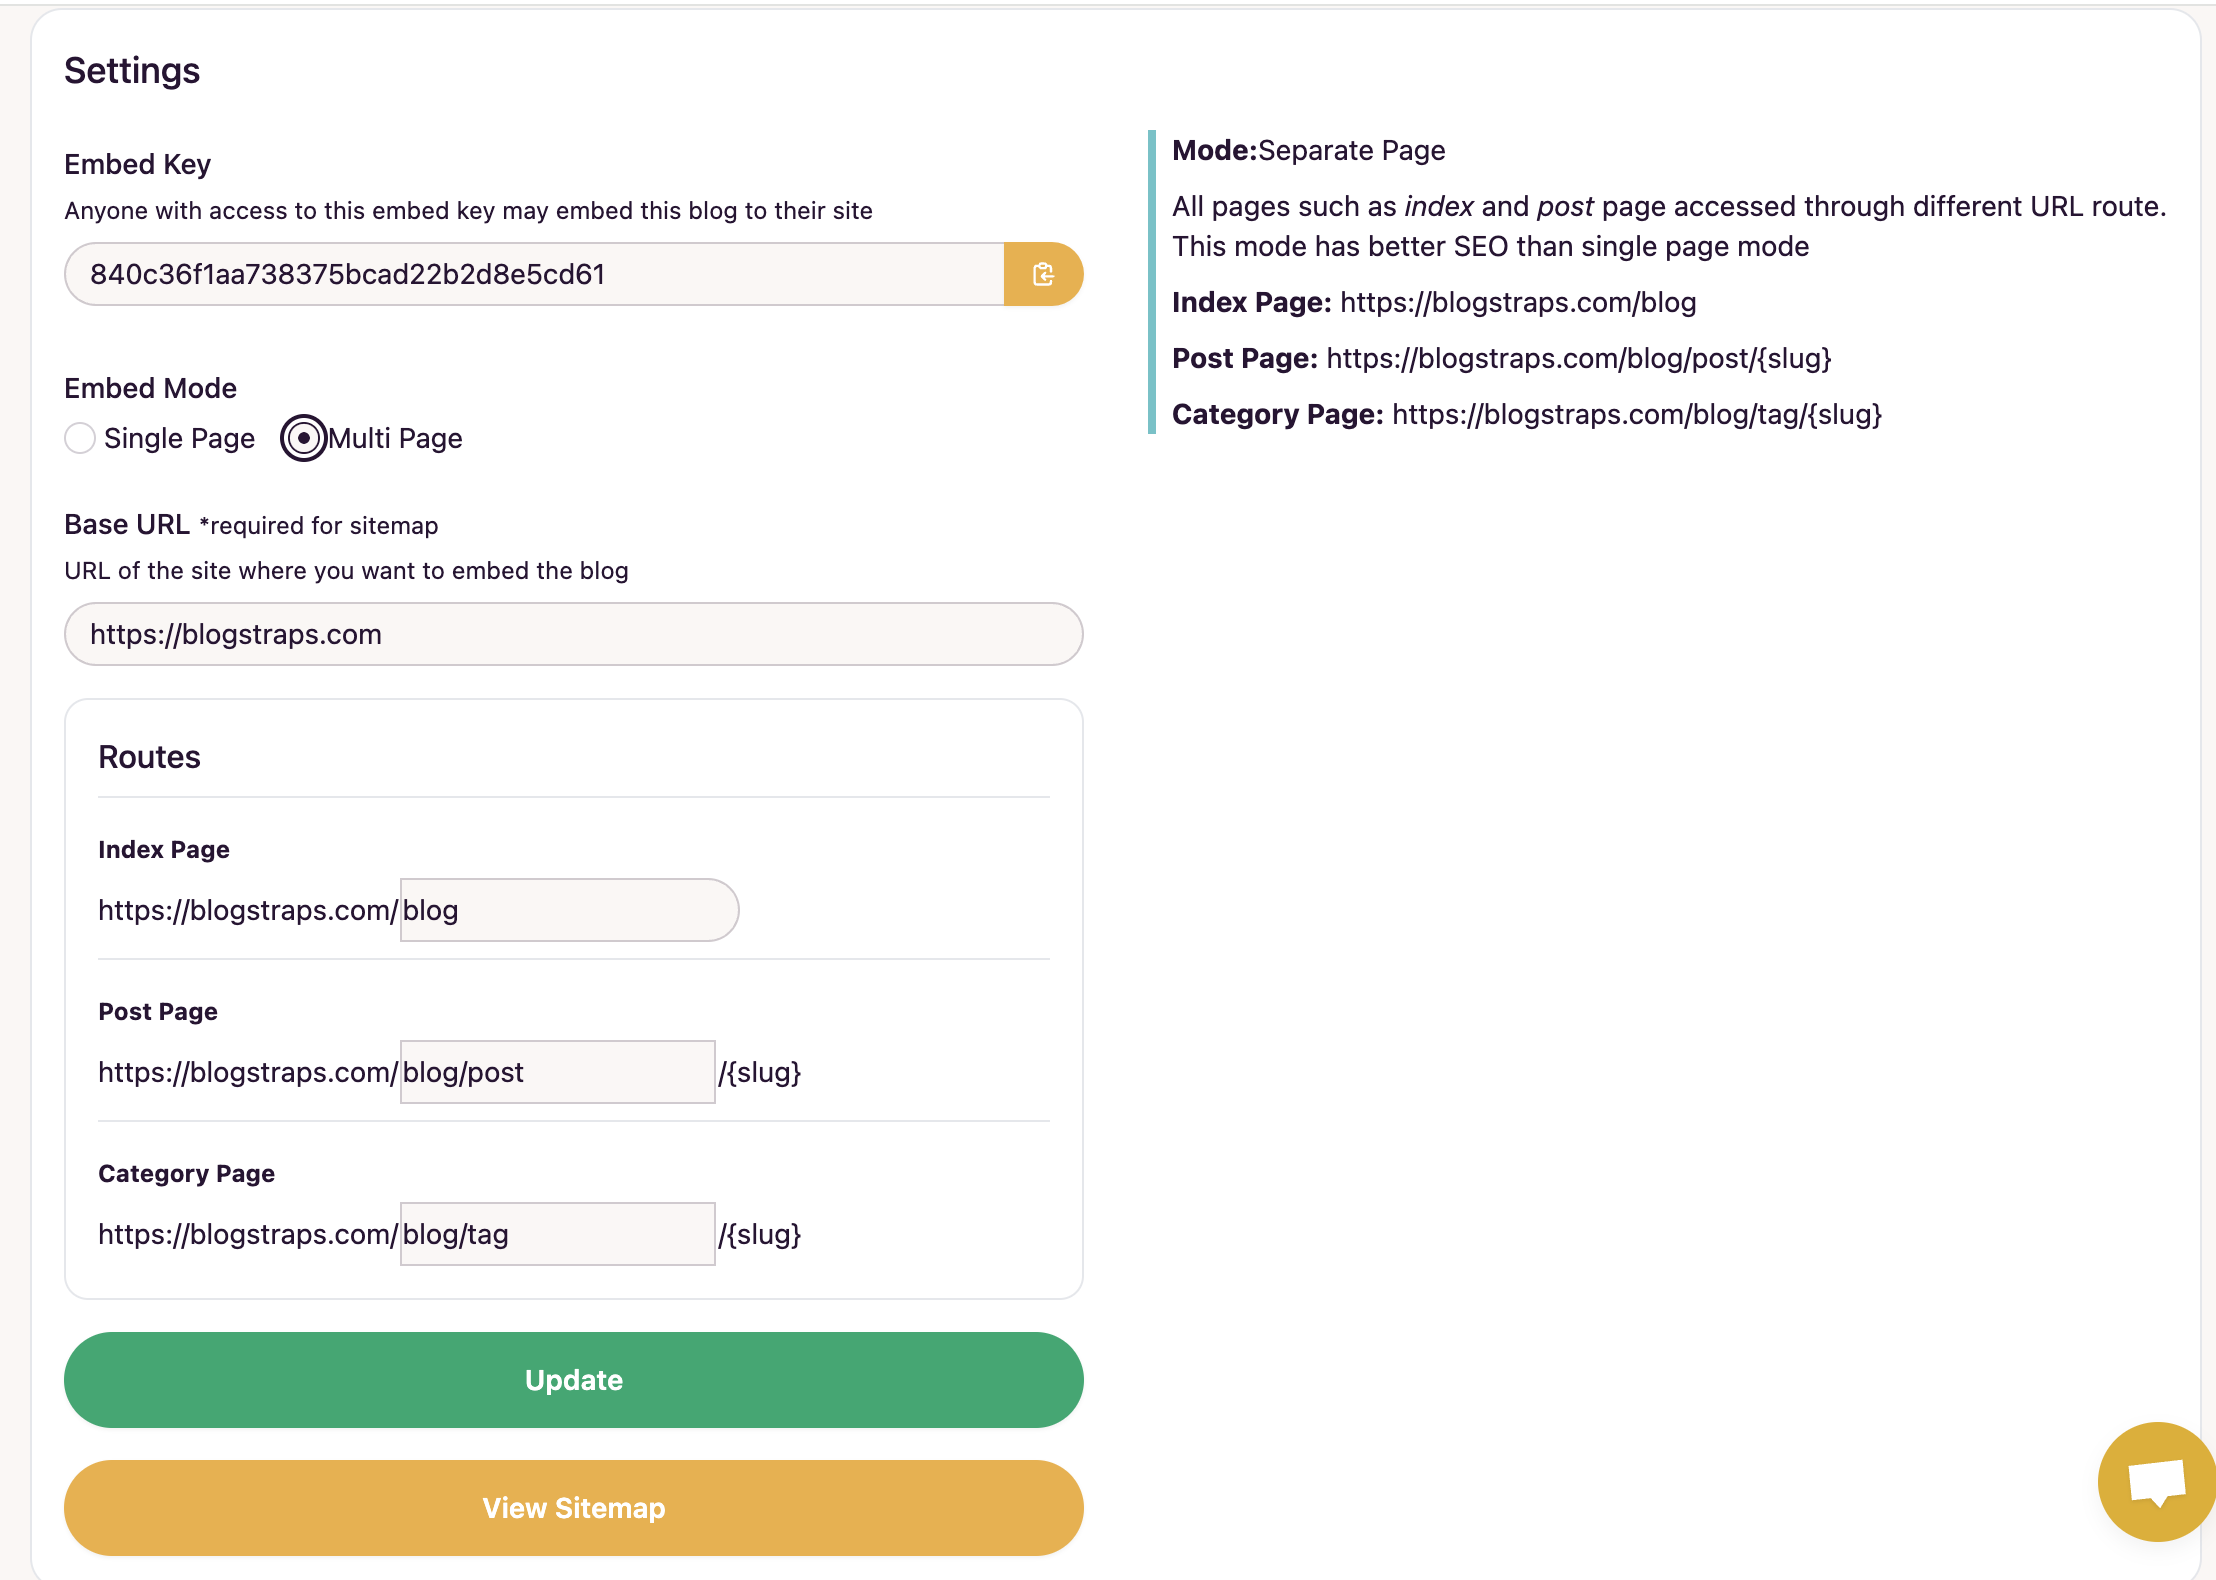
To find the Embed Key, log in to the Blogstraps dashboard and go to the Embed & Code page.
Dashboard -> Embed & Code
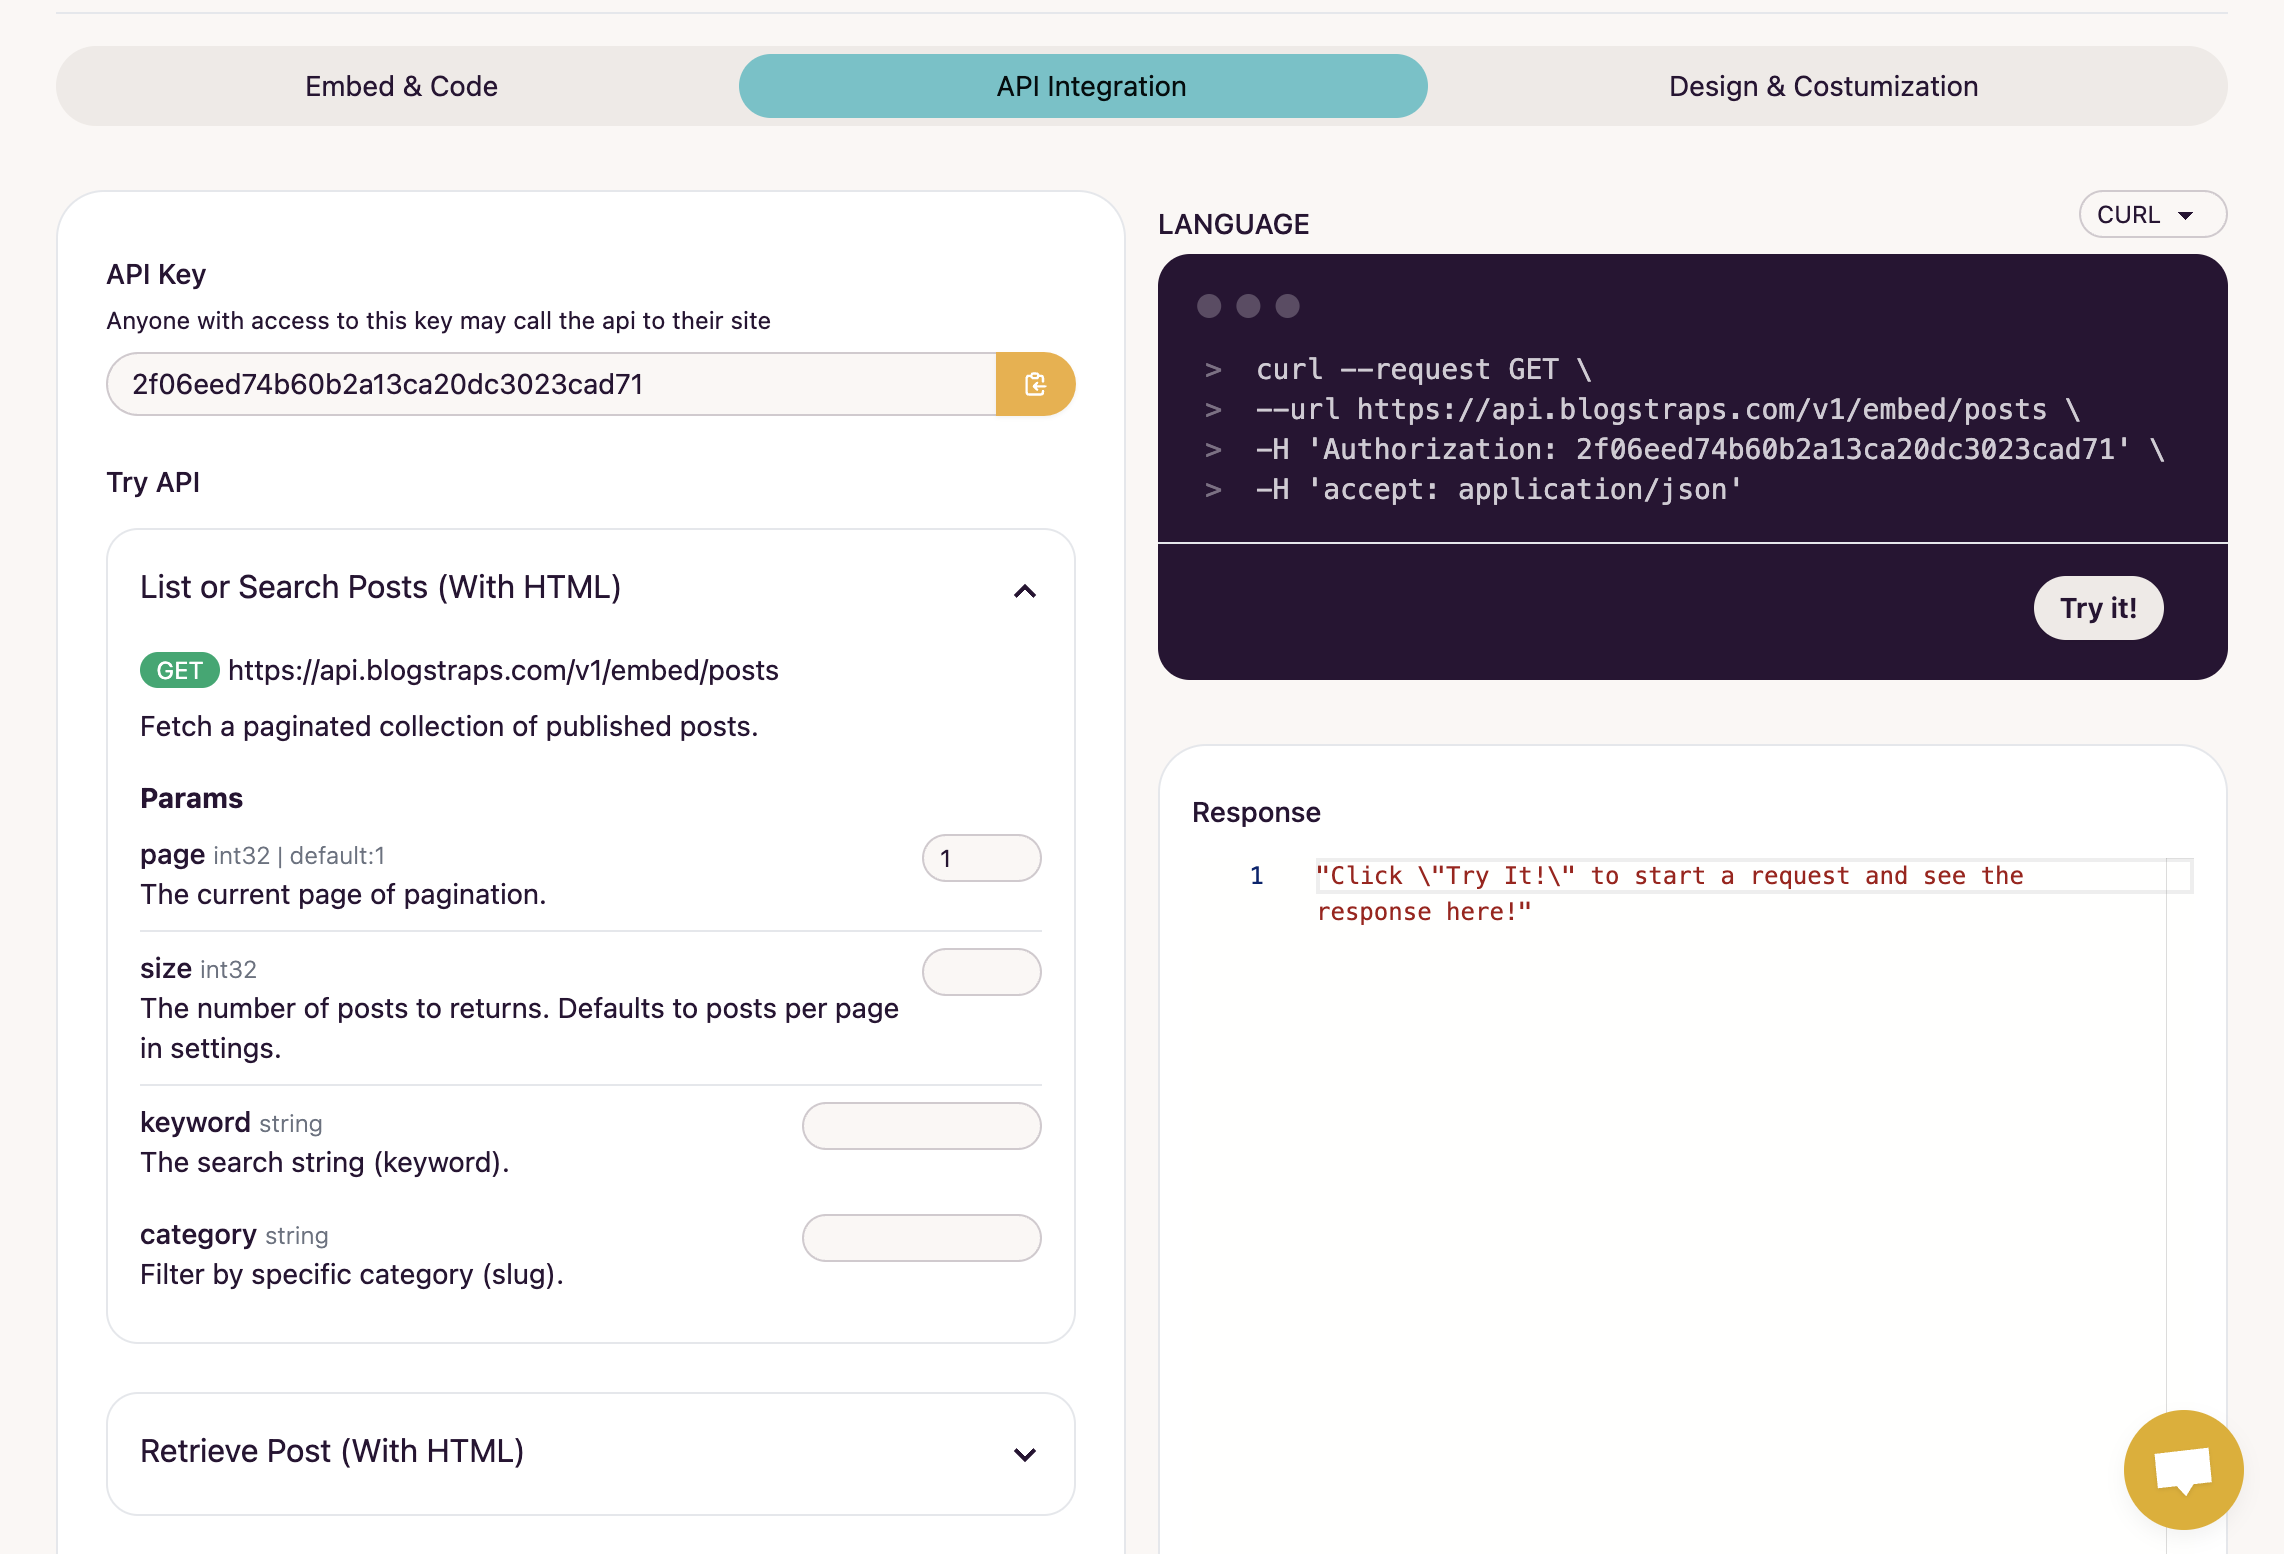
To find the API Key, go to the API Integration page:
Dashboard -> Embed & Code -> API Integration
Step 3: Deploy the Blog Website
Before deploying the blog website, ensure the NextJS project runs smoothly. Just run npm install && npm run build to check for errors.
There are many cloud platforms to deploy frontend projects, such as Netlify and Vercel. In this article, I'll use Netlify.
Deploy NextJS Blog Website via Netlify
- First, create a
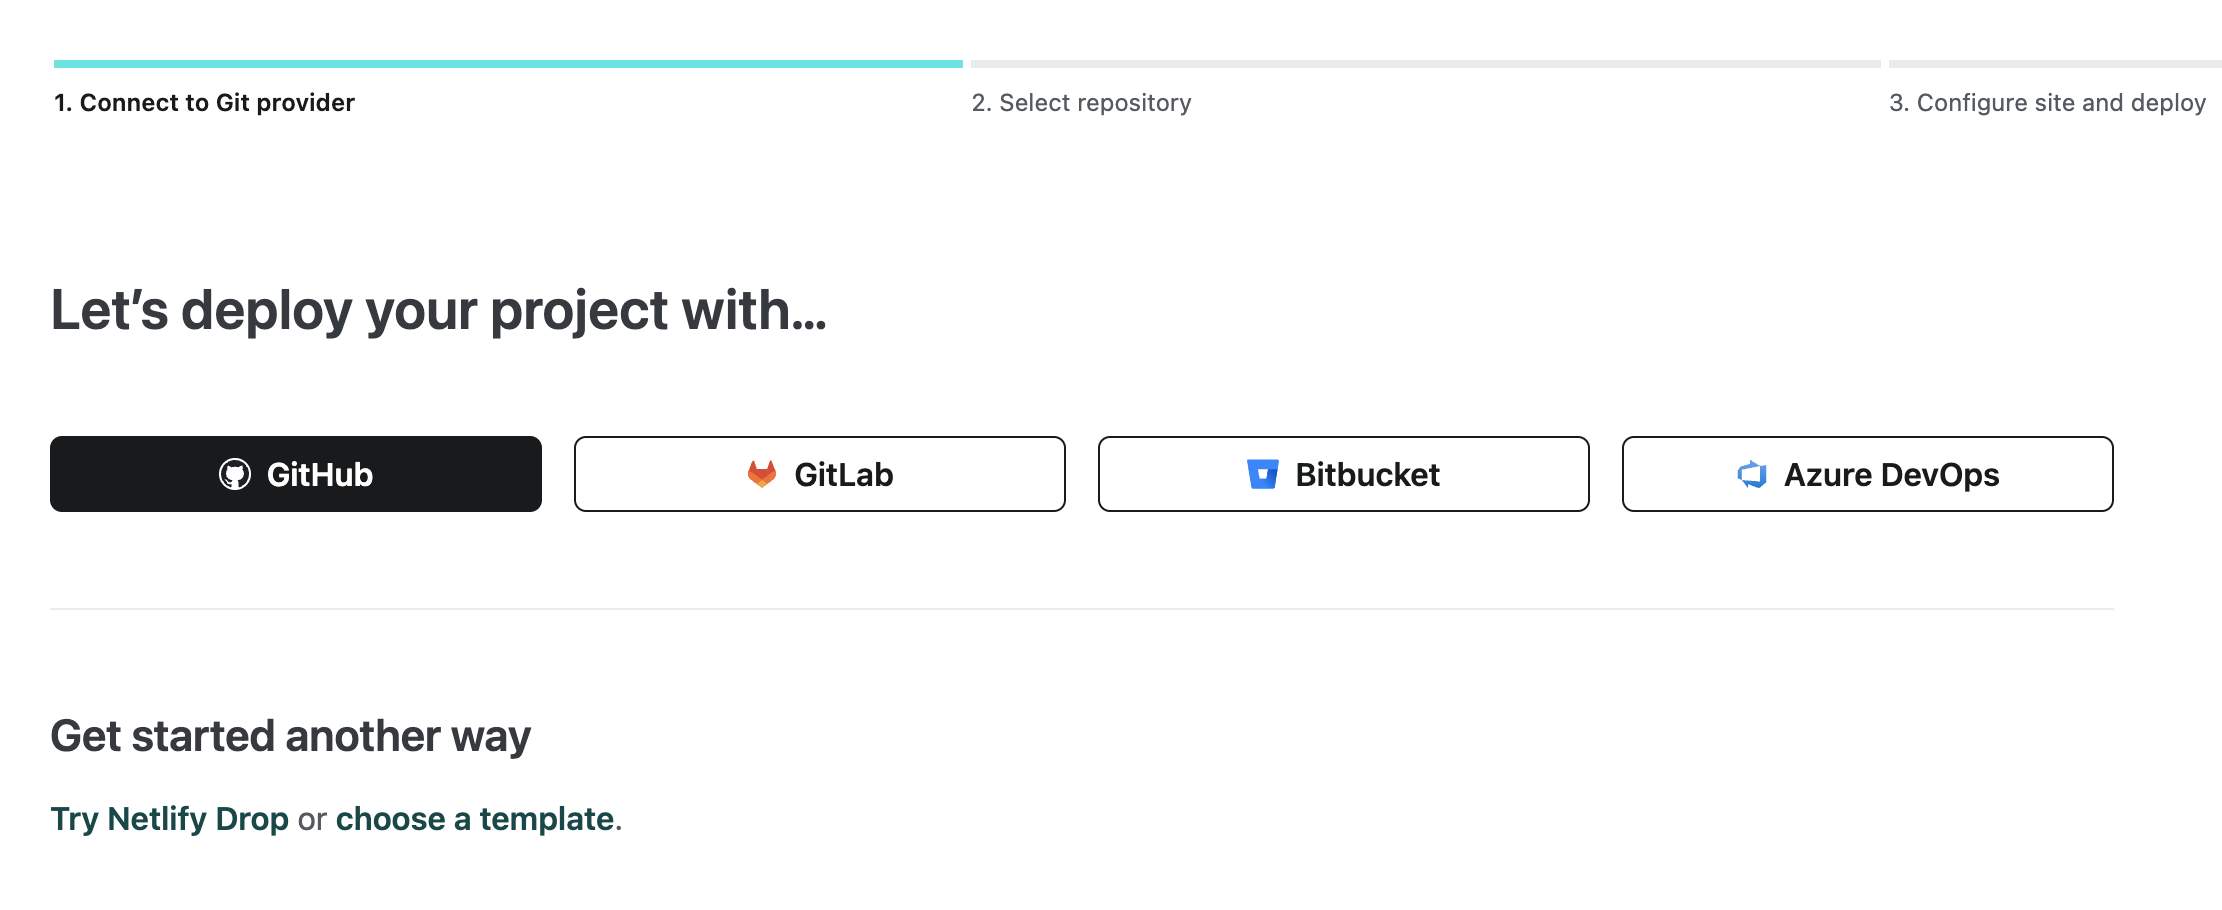
Netlify account -> Add new website -> Connect to your Git account.
- Choose the repository from the Blogstraps example that you forked. Remember, if you are using the Free Plan of Netlify, the repository must be public.

- Fill out the required forms. Follow the image below
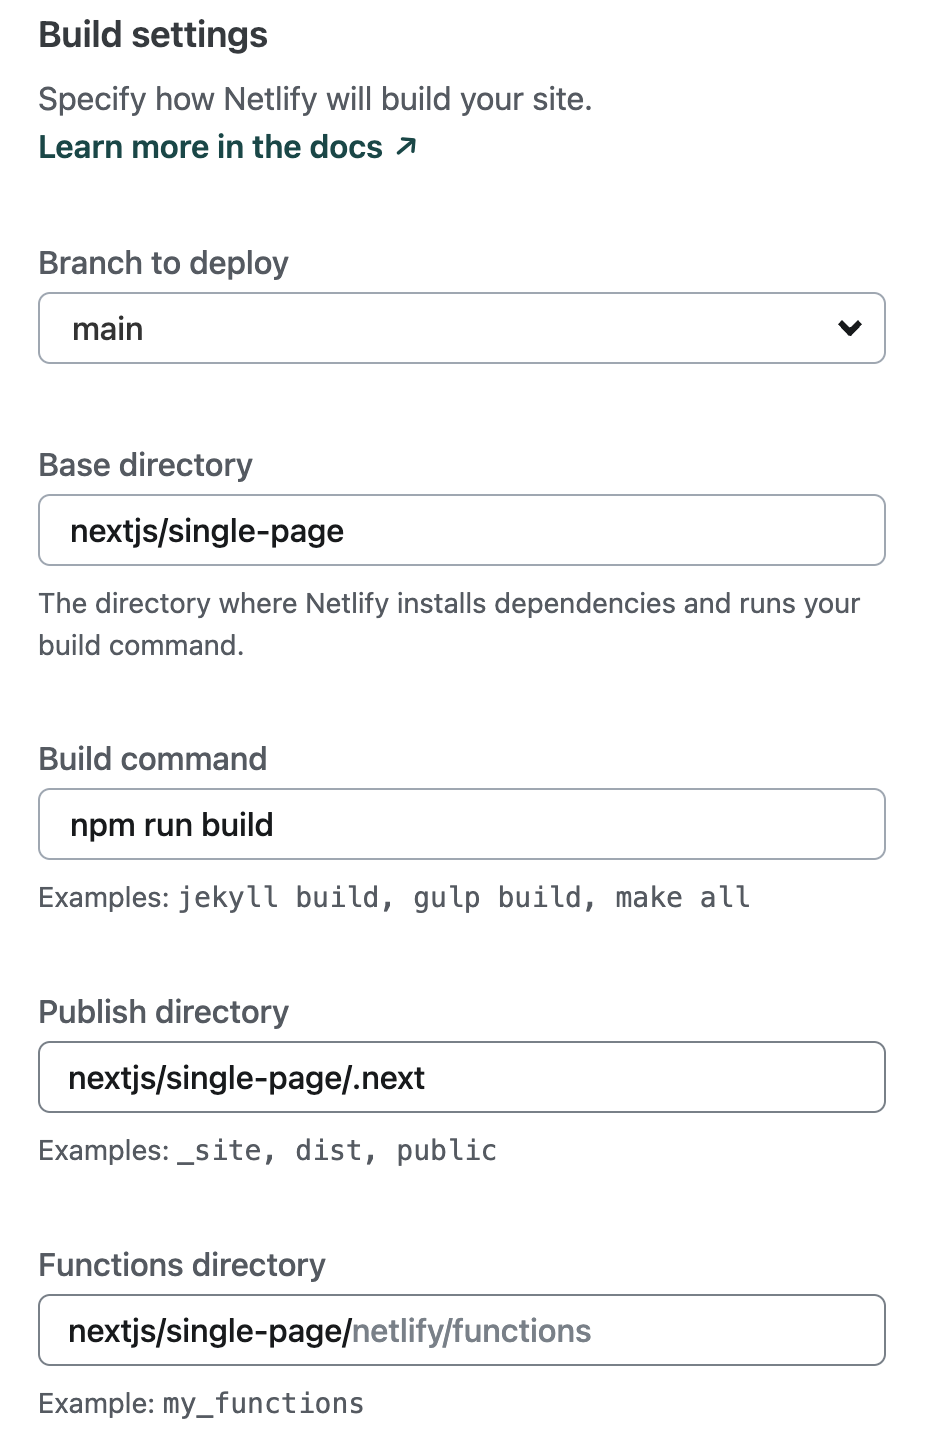
- Important: Since the Blogstraps example repository uses a subdirectory, you need to select the correct subdirectory for Netlify's base directory.
- If you decide to use Single Page mode, fill it with
nextjs/single-page. - If you decide to use Multi Page mode, fill it with
nextjs/multi-page. - If you decide to use Multi Page with SSR, fill it with
nextjs/multi-page-ssr.
- If you decide to use Single Page mode, fill it with
- This also applies to the publish directory. Add the
.nextfolder, as the output fromnpm run buildwill be stored there - Before submitting the deployment, don't forget to add the Environment Variable
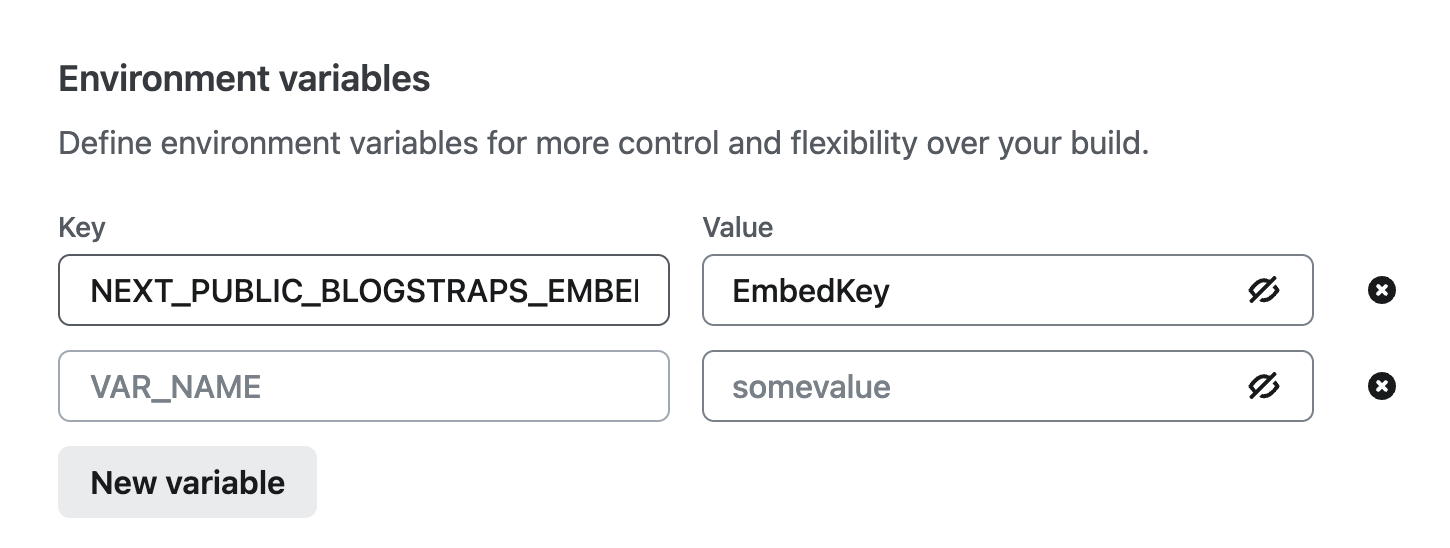
- After submitting, Netlify will trigger the deployment. The first deployment might fail; if it does, you may need to change the Netlify runtime to NextJS:
Site Configuration Page -> Build & Deploy -> Build Settings -> Configure
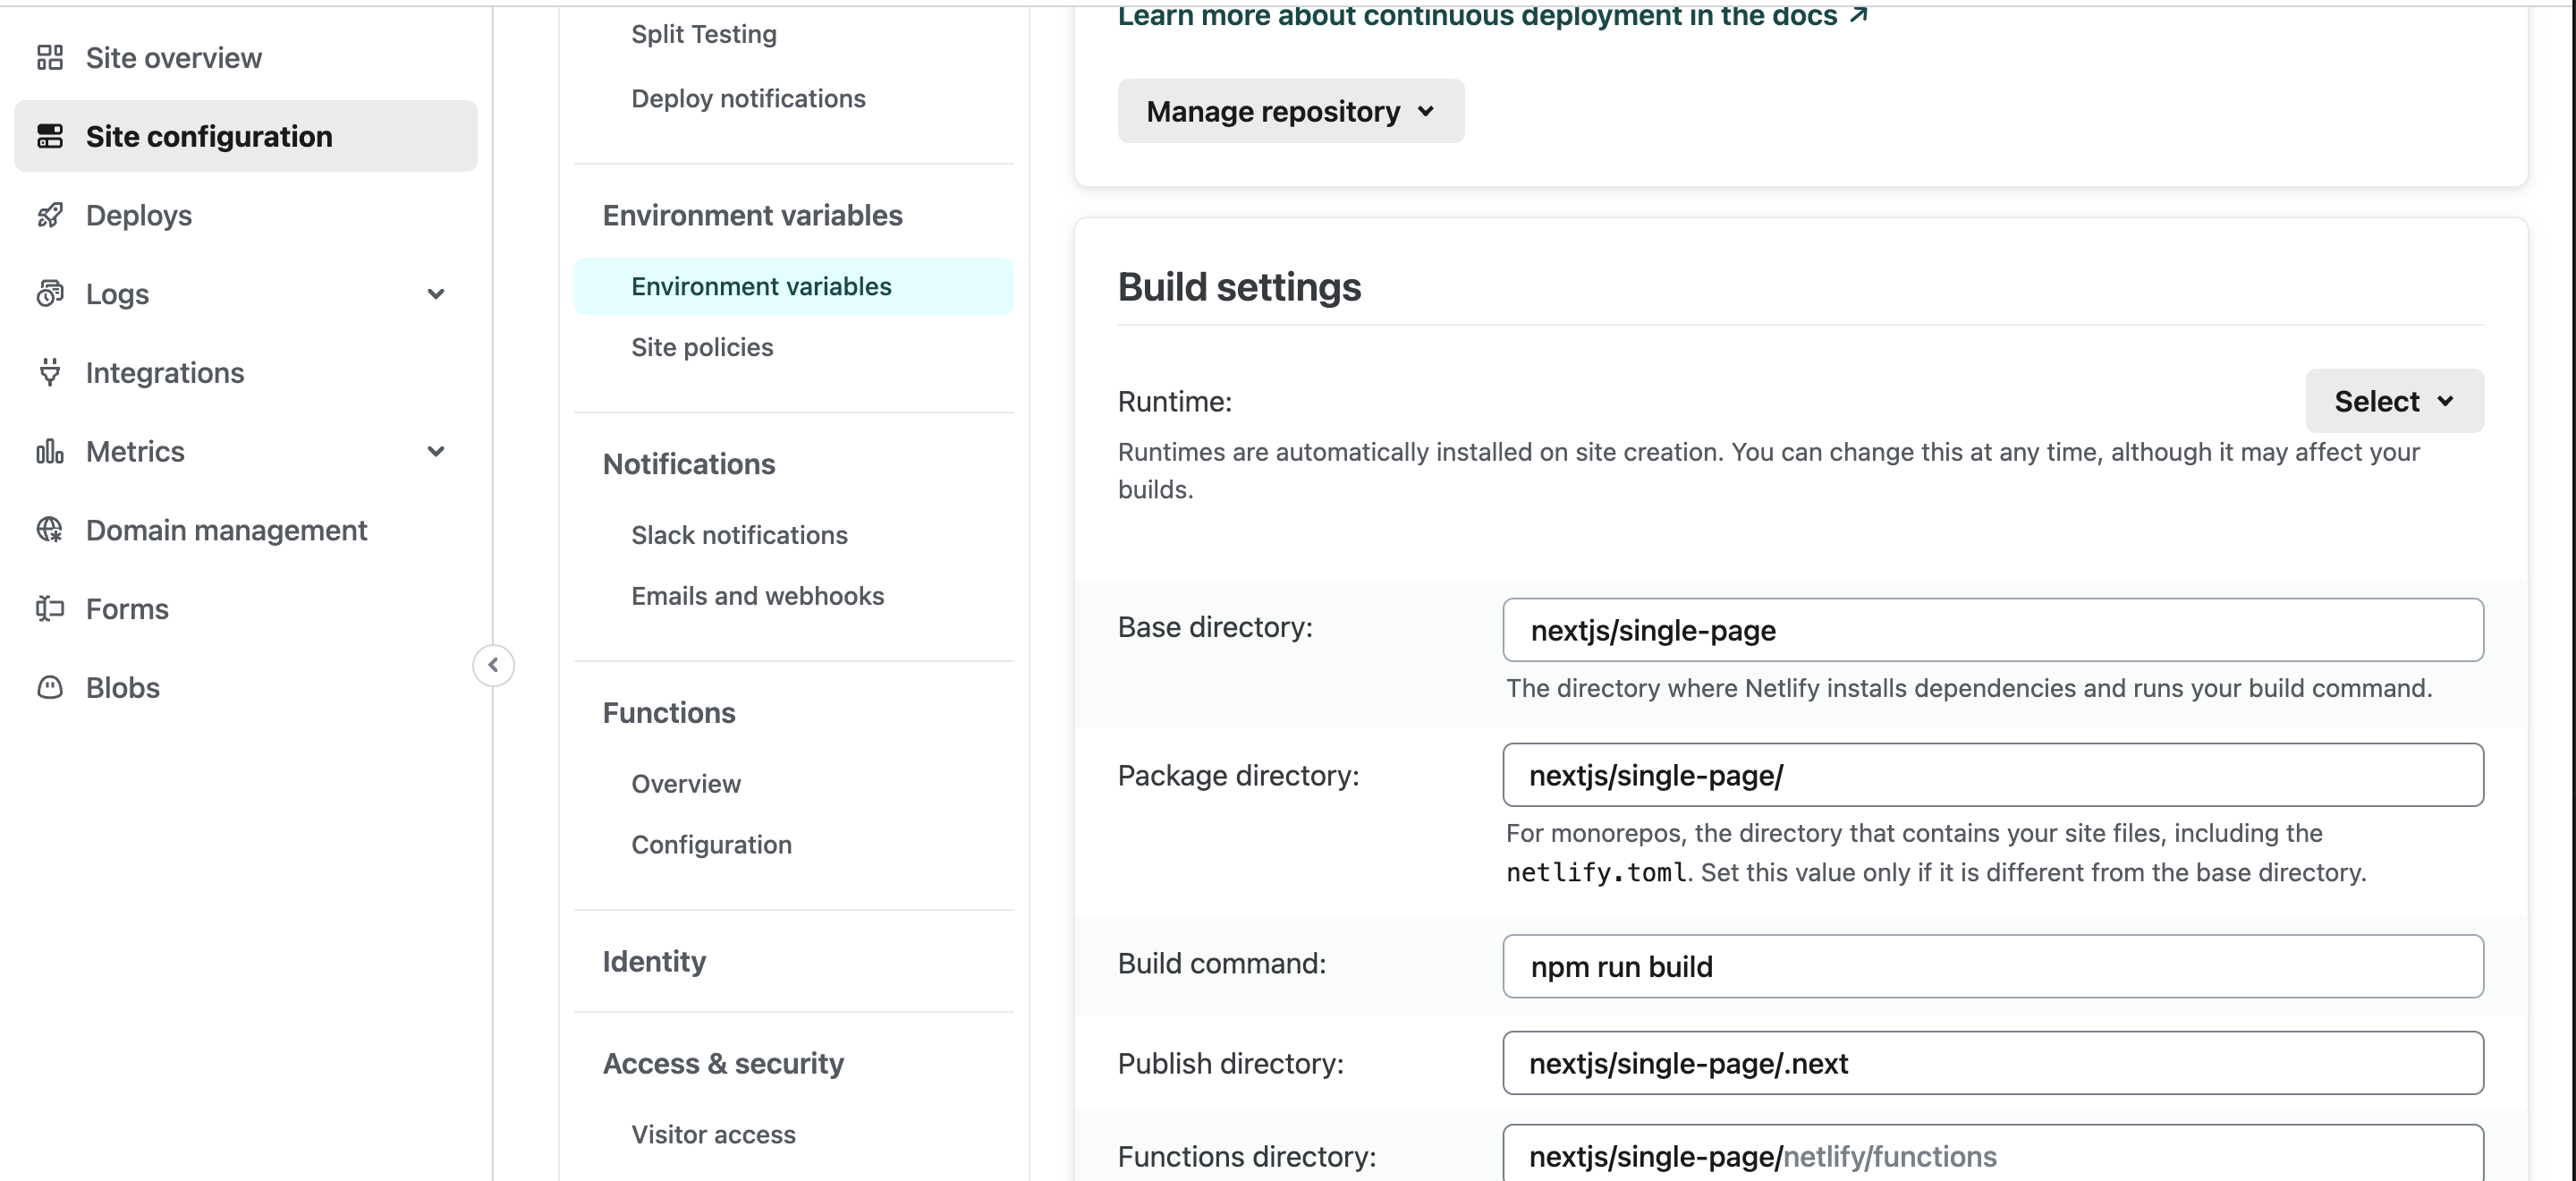
- IIn the runtime section, select NextJS as the runtime engine. After that, you can trigger a redeploy on the deploy page.
- Congrats! Your blog website will be up in minutes.
- Next, you might need to set up the domain name and obtain an SSL certificate. Just follow Netlify's instructions.
